How to fix your water-damaged phone in 8 steps
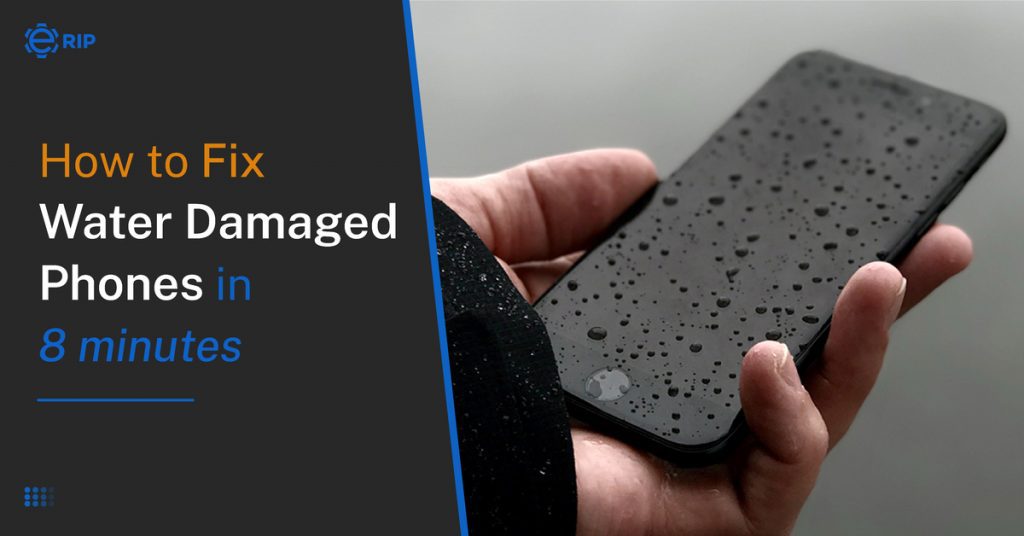
When you see your phone covered in water, everything stops moving suddenly. You can predict that nothing positive will happen in the next few seconds, whether in a pool, the sea, or a toilet.
After all, it’s a costly high-tech item, so the odds are good that it will be deemed useless. Not to mention that you might have lost all of your crucial files! You might wish to research phone repair techniques for water damage.
You need to act quickly to minimise damage if your phone unexpectedly falls into the water. Thankfully, most modern cell phones have some level of water resistance. Therefore, even if your smartphone gets little spills by accident, a water-damaged phone can be okay in 8 steps given below:
How to fix your water-damaged phone in 8 steps
- It must be taken out of the liquid right away. The more liquid seeps into different inlets the longer it stays there.
- Leave the phone off after turning it off.
- Take off the protective covering.
- If at all feasible, open the back and take out the microSD card, battery, and SIM card (if you have one). Have trouble taking out the SIM card? View our iPhone and Android user guide.
- Your phone should be dried with a cloth or paper towel. Avoid rubbing the phone because doing so could unintentionally push fluids into the more delicate areas of the device. You might try (very) carefully cleaning the area around the phone’s creases and openings if it was entirely submerged to remove extra water.
- Do not expose your phone to the sun’s heat. Keep it somewhere dry and cool.
- We do not advise using the advice you may have heard to put your phone in rice if it gets wet. Try silica gel packets instead, like the ones that frequently accompany new items like a pair of shoes, as they are considerably more effective. Place the phone inside a plastic zip-top bag filled with silica gel packets. Give your phone 24 to 48 hours in the bag.
- Turn on your phone once it has completely dried. Charge it completely before trying again if it doesn’t turn on immediately away.
The one-step solution to fix your water-damaged phone: ‘ERIP”
Other ways to fix your water-damaged phone
Below are some more ways to fix water-damaged phone:
1. Consider using a vacuum cleaner
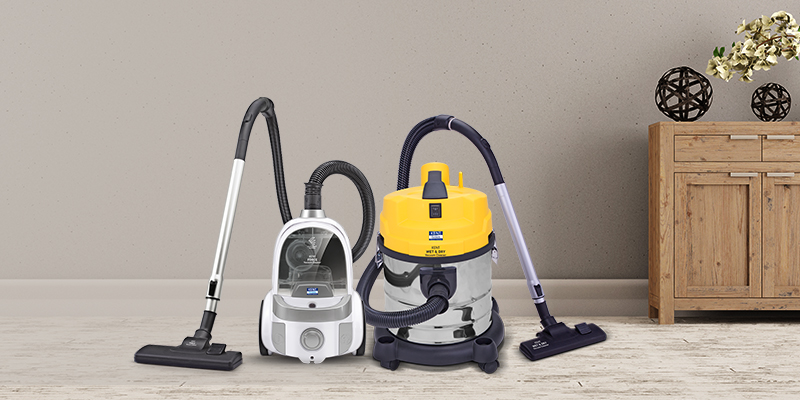
The paper towel can’t reach some places, of course. Although we advised against blowing anything into the phone, we did not advise against sucking the water out. In actuality, a vacuum cleaner may safely remove small amounts of water from the phone. Make sure the phone doesn’t move around a lot while being suctioned, though.
Also Read: OnePlus 10R 5G Confirmed to Pack MediaTek Dimensity 8100-MAX SoC
Subscribe to Erip
Get the latest technology news, reviews, and opinions on tech products right into your inbox
2. Attempt to dry the outside
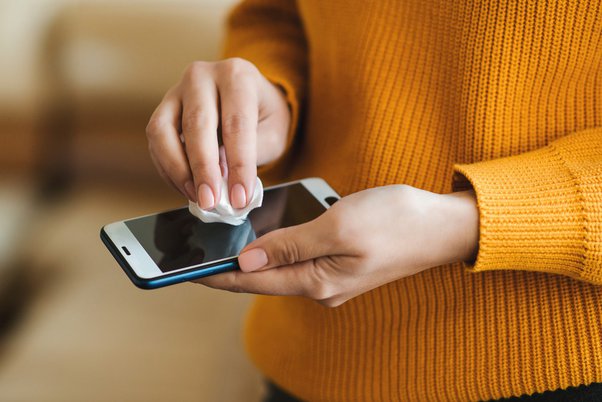
The exterior of your phone has a lot of extra water, which we must first attempt to remove. Dry everything as much as you can with a cloth or paper towel.
Just be careful not to fiddle with the phone excessively. Dry everything out gently without moving. It’s not good news that all this water might find its way inside the phone.
If you want to read informative blogs like this, visit our website, “ERIP Blogs“. Also, do visit our official handle, “ERIP“, where we provide home repair services for your home appliances and personal gadgets. You can easily schedule a repair by visiting our website “ERIP“, according to your convenience, and we will send an expert to your home to repair it.
Conclusion
After you’ve completed everything and given yourself a few days to pass, it’s time to assess whether your efforts have been successful. Put the phone back together after removing it from the bag you left it in. Try turning on the phone now after plugging it in. If it does, you may have been successful in your endeavour and can use the phone for a bit longer than you had anticipated. Make a call to check the speaker and microphone are functioning properly.
Related News


How to Replace MacBook Air Battery: Step-by-Step Guide – Copy

How to Replace MacBook Air Battery: Step-by-Step Guide – Copy – Copy

iPad mini 6 battery replacement in India – Duplicate – [#6758]
iPad generation 8 screen replacement in India – Copy
iPhone 11 camera lens repair – Duplicate – [#6640]
Where to replace logic board of MacBook pro? – Duplicate – [#7097]
