How to repair MacBook keypad not working
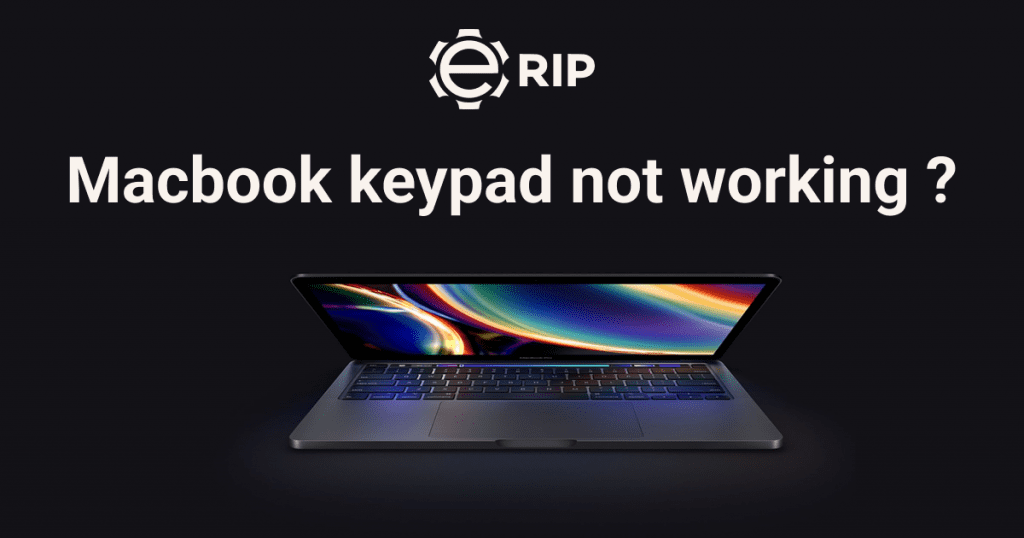
A faulty MacBook Pro keyboard may have certain keys that don’t work at all. Try cleaning it, checking for updates, and uninstalling any potentially troublesome programmes to resolve the issue and get your keyboard working again. Most of these solutions work with MacBook Air keyboards as well.
Is the keyboard on your MacBook Pro broken? We can totally relate to your frustration. It is extremely depressing to learn that the keyboard on your MacBook can be problematic because you often purchase a MacBook because you want a high-quality laptop that is simple to use, doesn’t have any issues, and doesn’t experience hardware failures.
Why Does the Keyboard on a MacBook Pro Stop Working?

Dust and other impurities are the most frequent causes of a MacBook keyboard malfunctioning. Even the tiniest bit of dust contamination on a MacBook with keys that use Apple’s butterfly keyboard mechanism can result in issues. Other pollutants, such as food and some drinks, can also impair the functionality of a Mac keyboard.
The following are the most typical causes of a malfunctioning MacBook keyboard:
- Dust and other impurities
- misconfigured software
- Unreliable apps
- Bugs and errors
- faulty hardware
How to Fix a Non-Working MacBook Pro Keyboard
The first thing to do if your keyboard stops working is to clean it. If it doesn’t work, you need to attach a spare keyboard and try a couple of different remedies. In the worst case, get in touch with Apple for expert assistance. Avoid attempting any complex repairs or disassembly on your own because Apple often addresses these issues for free.
Here’s how to fix a broken keyboard on a MacBook Pro:
- sanitise the keyboard Start by thoroughly cleaning your keyboard because dust and other debris are typically to blame for broken MacBook keyboards. The process Apple suggests is as follows:
- Hold the MacBook so that the base is angled to the ground or a table at a 75-degree angle.
- Blow between the keys in a left-to-right and top-to-bottom pattern while using compressed air and a straw to direct the pressurised air.
- Turn the MacBook around so that the right side is still facing down and at a about 75-degree angle.
- Use the same top-to-bottom and left-to-right blowing patterns as before.
Turn the MacBook over one more time, this time with the left side still facing down and at a 75-degree angle. Repetition of your previous blowing pattern is required.
Subscribe to Erip
Get the latest technology news, reviews, and opinions on tech products right into your inbox
How to repair the keyboard on a MacBook or MacBook Pro
It is absolutely a good idea to get in touch with the Authorized Apple Service Provider to have your keyboard serviced if it suddenly stops working. Why not give it a shot though? Some keyboard issues are surprisingly simple to repair. Here is the guide to troubleshooting.
As we’ve already discussed, dust and other debris may badly damage your keyboard, often leading to problems with some keys sticking and failing to register presses. Observe Apple’s advice for a secure way to wipe your Mac keyboard:
- Hold your MacBook with the horizontal at a 75-degree angle.
- spray the keys with pressurised air from top to bottom and from left to right.
- Maintain the 75-degree angle as you turn your MacBook left and right, then spray again on each side.
- You may also get a specialised cleaning brush to give your keyboard a deeper cleaning.
Delete recent programmes that you installed
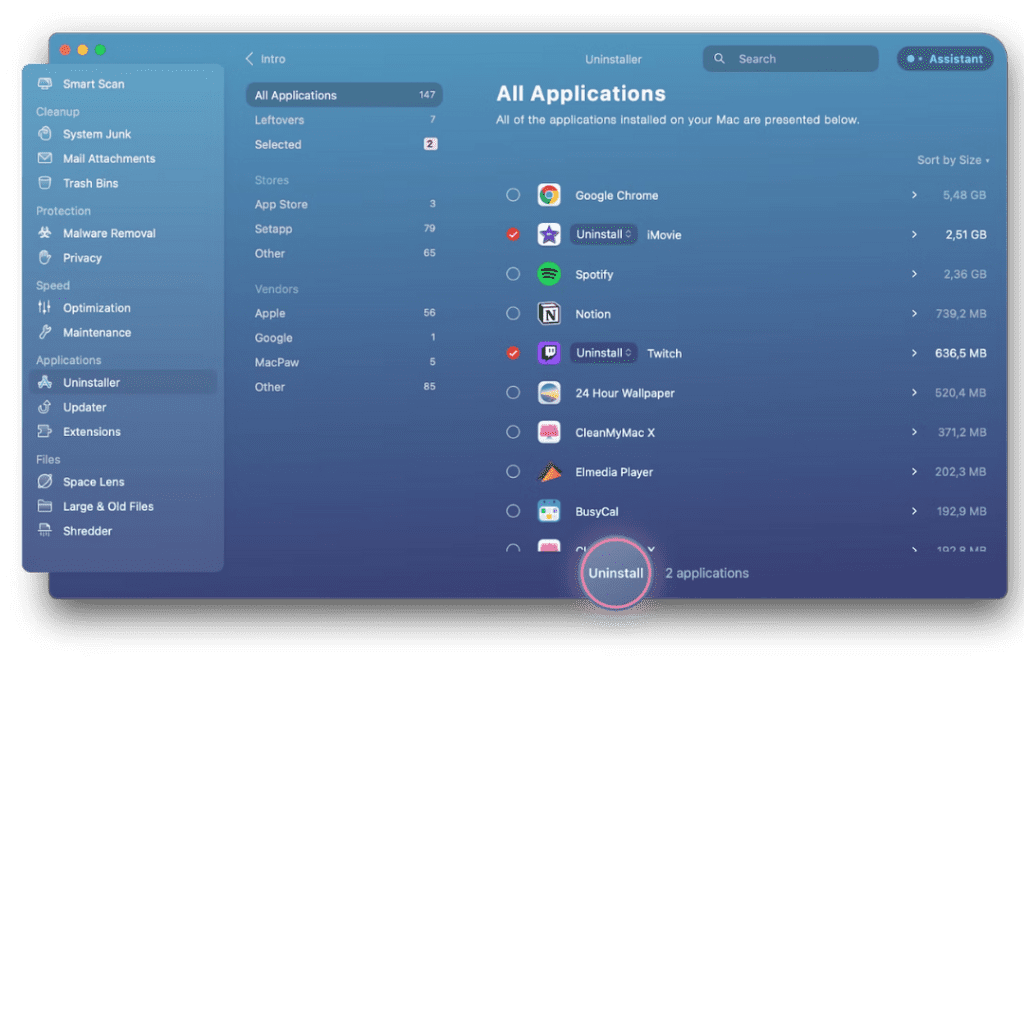
It may seem strange, but some programmes can really change how your keyboard works. Quit all of your apps on your MacBook to see if any are causing problems with the keyboard. Simply click the Menu > Quit All button (make sure you select the background apps, too).
If your keyboard resumes functioning regularly, you should investigate your recently installed apps to identify the problematic software and remove it. Go to Finder > Applications > Sort By > Date Added to view the newest applications. Next, use CleanMyMac X Uninstaller to complete the process. Unlike other techniques, CleanMyMac X removes all the files related to the software to ensure that you never encounter the same issue again.
If you want to read informative blogs like this, visit our website, “ERIP Blogs“. Also, do visit our official handle, “ERIP“, where we provide home repair services for your home appliances and personal gadgets. You can easily schedule a repair by visiting our website “ERIP“, according to your convenience, and we will send an expert to your home to repair it.
Related News


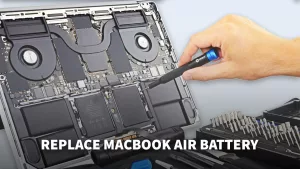
How to Replace MacBook Air Battery: Step-by-Step Guide – Copy

How to Replace MacBook Air Battery: Step-by-Step Guide – Copy – Copy

iPad mini 6 battery replacement in India – Duplicate – [#6758]
iPad generation 8 screen replacement in India – Copy
iPhone 11 camera lens repair – Duplicate – [#6640]
Where to replace logic board of MacBook pro? – Duplicate – [#7097]
