iPhone 14 activation issues: Here is the solutions
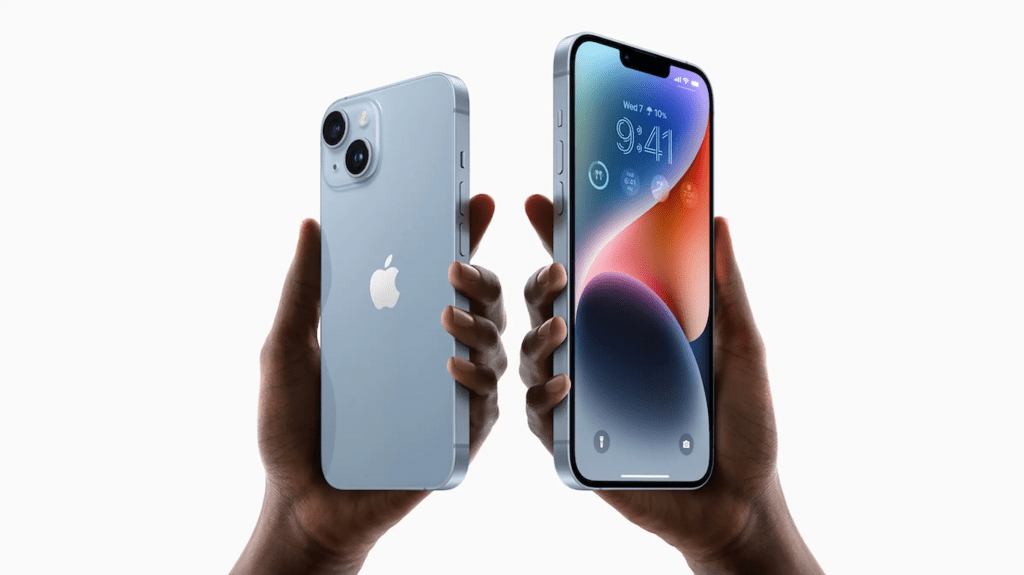
Here are a few potential causes of the iPhone 14 activation issues:
- There is a weak Internet connection.
- SIM cards are not properly inserted.
- You can only use your iPhone with the prior carrier.
- The activation server can be momentarily down.
- The iPhone 14 stops at the message “Unable to Activate” and does not proceed.
- The message “it may take a few minutes to activate your iPhone” could appear on an iPhone. Without turning on the gadget, that error notice will keep appearing.
- Wi-Fi network connection failure. It is an indication that the iPhone is failing to activate when your smartphone repeatedly struggles to connect to a Wi-Fi network.
Also Read: Ways for Macbook-SSD-Upgrade
To fix the iPhone 14 activation issues, you can attempt any of the techniques listed below.
1. Launch Your iPhone
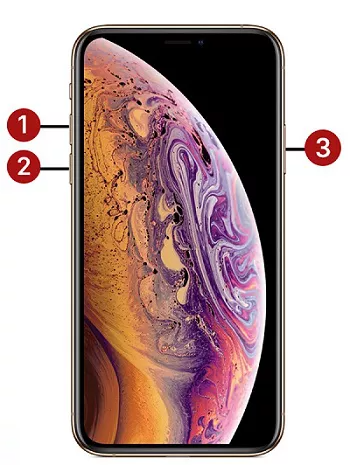
Hard resetting the phone is one of the best and quickest ways to solve any issue. Hard resetting a phone is comparable to shutting down a computer when it is completely unresponsive. The procedures for restarting your iPhone are listed below.
- Press and immediately release the volume up button first.
- Next, repeat steps 1 and 2 for the volume down button.
- When you see the Apple logo, keep pressing the side button.
- The Apple logo appearing on the screen means the phone is resuming.
2. To activate the iPhone 14, reinstall the SIM card.
As previously mentioned, when this occurs, the sim card may become faulty or cease to function with the iPhone 14. If this is the problem, removing and reinserting the sim can fix the issue.The SIM card is required to activate an iPhone. Otherwise, you’ll encounter the iPhone won’t activate. Please double-check that your iPhone’s SIM cards are correctly installed. Removing the SIM card tray and examining the placement of the cards.
3. Verify the Internet connection.
A bad internet connection is one frequent cause of activation errors. Restarting your Wi-Fi router should help the slow internet connection. Contact your service provider if the internet issue is still present.As a result, occasionally choosing a new WiFi network could be the most likely solution. You can do the following things:
- From the home screen, select “Settings” > “Cellular” > “Cellular Data” and deactivate it.
- Return to the “Wi-Fi” menu, turn on the WiFi if it isn’t already, and wait until the phone finishes looking for WiFi networks nearby.
- By pressing on it, choose the WiFi network of your choosing.
4. Review Apple System Status
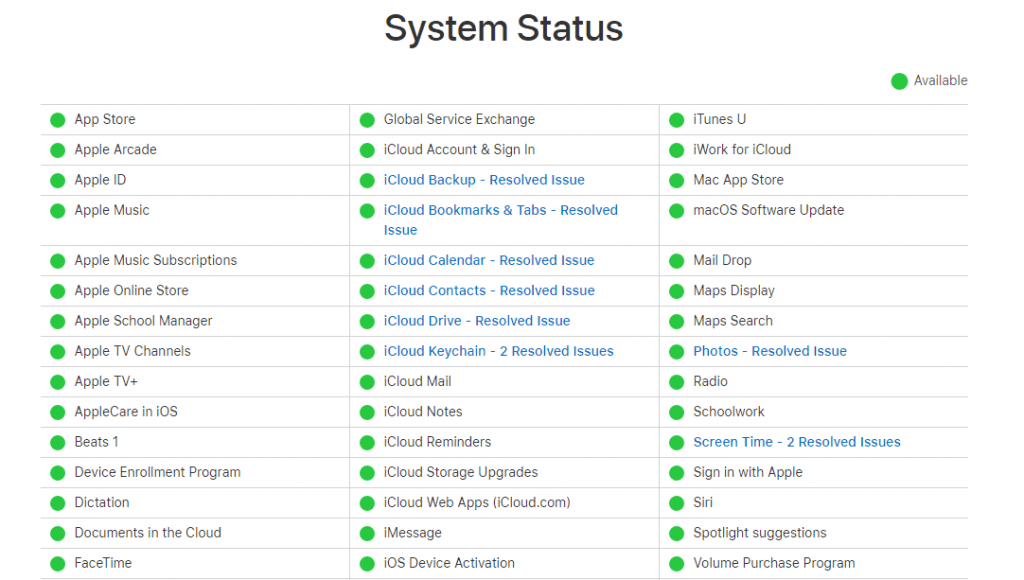
Go to the Apple System Status first, and then check. It is a help page that displays current details about the services provided. Look for iOS Device Activation and see if it’s active. It indicates a problem with the activation if it is not green. Simply wait for Apple to fix it. The server is functioning normally if it is green.
5. iPhone activation using iTunes
- You may use iTunes to activate your iPhone 14 if you have access to a computer.
- Install the most recent version of iTunes on your computer.
- Turn off your iPhone and attach it using a USB cord to your computer.
- Switch on your iPhone and open iTunes.
- The “Activate your iPhone” window will show up once iTunes recognises your iPhone.
- To begin the activation, enter your Apple ID and passcode > Click Continue.
6. If none of the methods above worked to activate your iPhone 14, call your carrier.
Another possibility is that the SIM card and phone are locked. Until the phone and SIM card are unlocked, the phone cannot be activated. You must contact your carrier for the same in order to complete this step.
If you want to read informative blogs like this, do visit our website “ERIP Blogs“. Also do visit our official handle “ERIP“, where we provide home repair services for your home appliances and personal gadgets. You can easily schedule a repair by visiting our website “ERIP“, according to your convenience, and we will send an expert to your home to repair it.
Related News


How to Replace MacBook Air Battery: Step-by-Step Guide – Copy

How to Replace MacBook Air Battery: Step-by-Step Guide – Copy – Copy

iPad mini 6 battery replacement in India – Duplicate – [#6758]
iPad generation 8 screen replacement in India – Copy
iPhone 11 camera lens repair – Duplicate – [#6640]
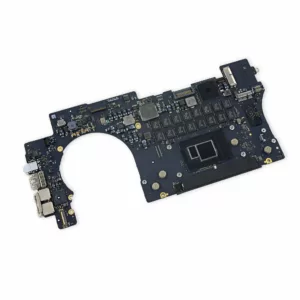
Where to replace logic board of MacBook pro? – Duplicate – [#7097]
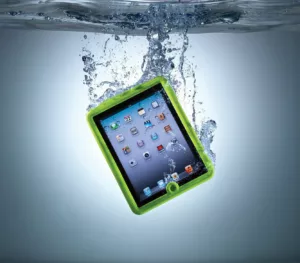
Water damage repair of iPad in India – Duplicate – [#6885]
3.Reconnect the headphones while holding down the volume controls.
Examine your Macbook headphones’ volume controls. Some models include volume controls that can be turned down or off.Check all of the ports by unplugging everything from your Mac. HDMI, Thunderbolt, and USB devices are all included. Other devices may be redirecting sound away from your headphones. If your TV is connected via HDMI, your sound is most likely being redirected to the TV rather than the headphones or speakers.If you want to hear the sound through your headphones or speakers while your TV is on, switch to your speakers by clicking on the audio icon in the Mac menu bar. There, you can select your headphones/speakers.
Examine your Macbook headphones’ volume controls. Some models include volume controls that can be turned down or off.Check all of the ports by unplugging everything from your Mac. HDMI, Thunderbolt, and USB devices are all included. Other devices may be redirecting sound away from your headphones. If your TV is connected via HDMI, your sound is most likely being redirected to the TV rather than the headphones or speakers.If you want to hear the sound through your headphones or speakers while your TV is on, switch to your speakers by clicking on the audio icon in the Mac menu bar. There, you can select your headphones/speakers.
Examine your Macbook headphones’ volume controls. Some models include volume controls that can be turned down or off.Check all of the ports by unplugging everything from your Mac. HDMI, Thunderbolt, and USB devices are all included. Other devices may be redirecting sound away from your headphones. If your TV is connected via HDMI, your sound is most likely being redirected to the TV rather than the headphones or speakers.If you want to hear the sound through your headphones or speakers while your TV is on, switch to your speakers by clicking on the audio icon in the Mac menu bar. There, you can select your headphones/speakers.
Go to the Apple System Status first, and then check. It is a help page that displays current details about the services provided. Look for iOS Device Activation and see if it’s active. It indicates a problem with the activation if it is not green. Simply wait for Apple to fix it. The server is functioning normally if it is green.


