How to Replace iPhone 13 Camera Lens: Step-by-Step Guide
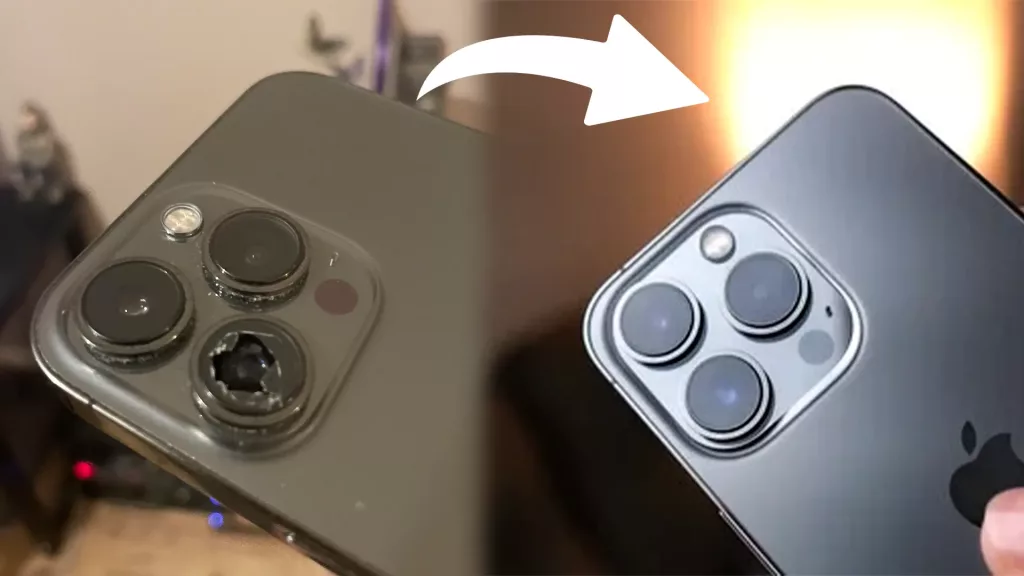
Before starting I want to clarify that even though the title talks about replacing iPhone 13 camera lens, this process can be applied to any of your iPhone’s having a modern camera module i.e if you have any iPhone that’s launched after iPhone X.
Replacing the camera lens on an iPhone can be a delicate process which demands patience, however if you have decided to take on this task we won’t discourage you to do so.
So, in this blog we will guide you on how you can replace your iPhone;s camera lens, the tools you would need and instructions.
- Gather the necessary tools: You will need a replacement camera lens, a pair of tweezers, a hair dryer or heat gun (note that hair dryer will take a little bit longer than heat gun), a blade, some earbuds, a cleaning cloth & rubbing alcohol.
- Power off your iPhone: Before you begin, make sure your iPhone is turned off to avoid any potential damage to the device.
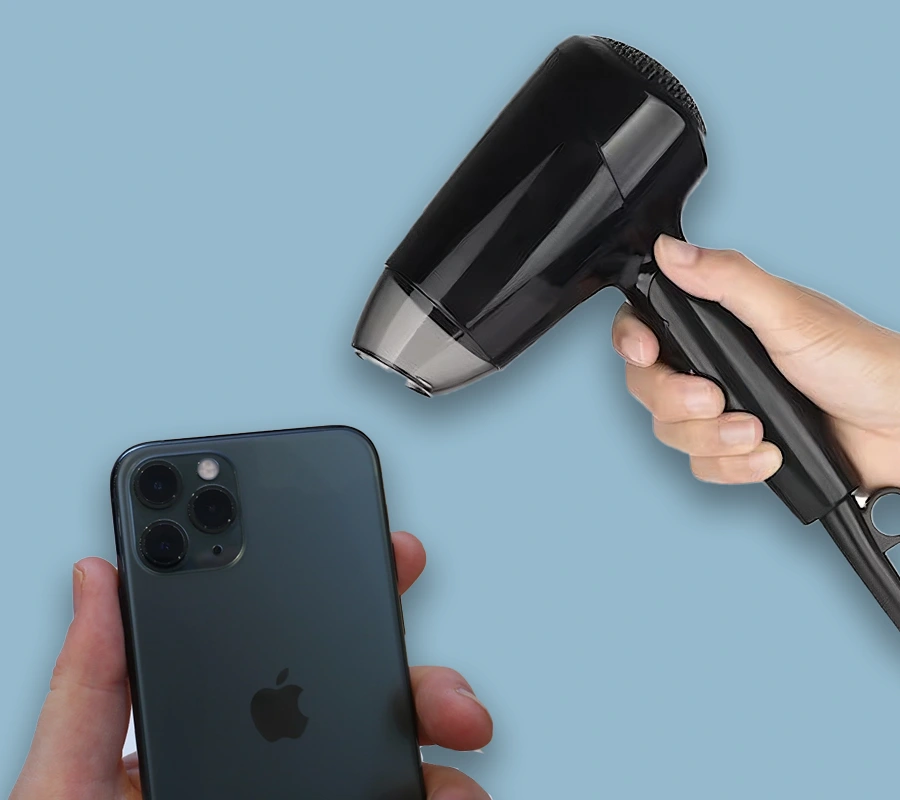
- Remove the camera module: Turn on the heat gun or hair dryer & target the lens which is damaged or you want to replace. This is used to soften the adhesive so it’s easier to remove.your iPhone’s camera lens.
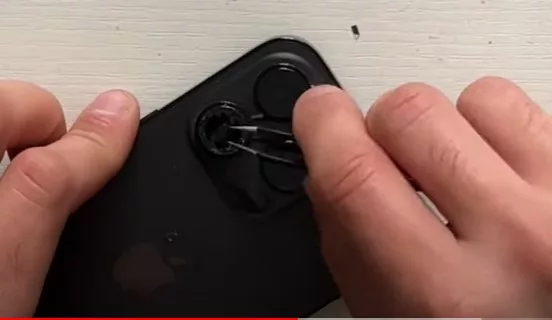
4. Remove the broken lens: After 7-8 minutes, take a pair of tweezers & start chipping off the glass of the camera lens. Don’t scratch it on the lens or you will damage the camera lens itself.
Just move the tweezers around the lens & avoid the particles from falling into it.
Here’s an image of what it would look like.
Subscribe to Erip
Get the latest technology news, reviews, and opinions on tech products right into your inbox
Once all the glass is removed shake your iPhone a bit so that any small particles in or around the lens which you can’t see fall off.
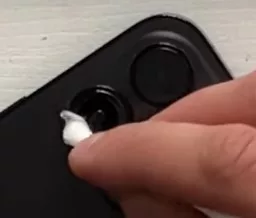
5. Remove Remaining Adhesive: Now, dip an earbud into rubbing alcohol and rub it gently around the lens to remove the remaining adhesive with a blade that is left like this.
Be very careful as you can damage or scratch off the camera lens.
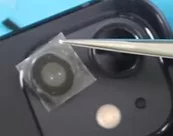
6. Replace the lens: Carefully pick up the replacement lens with tweezers & attach it to the camera module, making sure it is securely in place & remove the plastic.
Avoid touching the sticker or tape around the replacement lens.
7. At last, take that soft cleaning cloth again & gently rub on & around the lens to make sure it fits perfectly.
8. Power on your iPhone: Once everything is reassembled, turn on your iPhone and test the camera to make sure the lens is working properly.
It is important to note that replacing the camera lens on an iPhone is a difficult and delicate process requiring sheer patience & cautiousness.
If you are not confident in your ability to do it yourself, it’s alright, not everyone is perfect & can perform such a delicate task.
In that case it is recommended that you seek professional help. We at ERIP would love to repair your iPhone, or any other phone for that matter at the most reasonable price possible in the market & at a time convenient for you.
Just give a 2 minute read about our Importance of Choosing a Reputable iPhone Repair Service blog to make sure you choose the right repair option. or just contact us & experience the best repair of your smartphone.
Conclusion
Additionally, it is important to purchase a replacement camera lens that is specifically designed for your iPhone model. Using a lens that is not designed for your phone can result in poor image quality or even damage to the device.
If you encounter any issues during the replacement process, such as difficulty removing the camera module or problems with the new lens, it is best to stop and seek professional help. Continuing to try to fix the problem on your own can result in further damage to your iPhone.
Overall, replacing the camera lens on an iPhone can be done, but it requires careful attention to detail and a steady hand. With the right tools, instructions, and a bit of patience, it is possible to replace the lens and restore the camera’s functionality.
FAQs
You can find replacement camera lenses for iPhone 13 online through authorized Apple resellers or service centers or e-commerce platforms like Amazon & Flipkart.
The time it takes to replace the camera lens on an iPhone 13 may vary depending on the repair center and the severity of the damage. It can take anywhere from a few hours to a few days.
If the camera lens is replaced correctly, your iPhone 13 camera performance should not be affected. However, if the repair is not done properly, it may lead to issues such as blurry images or problems with autofocus.
- Tags: freezer, Freezer Problems
Related News

iPad mini 5 front glass replacement in India

iPad 7 th generation front glass replacement in India
iPad 7th Generation Screen Replacement in India
iPad 8 th generation Battery replacement in India
iPad 6th Generation Screen Replacement in India
iPhone 14 Back Glass Replacement in India

iPhone’s Genuine Apple Display Warning Message

Apple Non-Genuine Battery Warning Messages
How to know when it is time to replace your iPhone battery?
MacBook Air M1 Display Price in India
iPhone 12 pro back glass replacement in Bangalore, India
Never miss any important news. Subscribe to our newsletter.
Recent News
iPad mini 5 screen replacement in India
iPad mini 5 front glass replacement in India

iPad 7 th generation front glass replacement in India
iPad 7th Generation Screen Replacement in India
iPad 8 th generation Battery replacement in India
