How to Replace MacBook Air Battery: Step-by-Step Guide
Did you know that the battery life of a MacBook Air gradually diminishes over time? In fact, studies have shown that after about 1000 charge cycles, Macbook’s battery capacity can decrease by up to 20%.
If you’re constantly finding yourself in search of a power outlet or your MacBook Air refuses to turn on without being plugged in, it’s likely time to replace the battery. But don’t worry, replacing the battery in your MacBook Air is easier than you might think!
In this comprehensive guide, we’ll walk you through the step-by-step process of replacing the battery in your MacBook Air, ensuring that you can enjoy the freedom of a fully functional and long-lasting battery once again.
Table of Contents
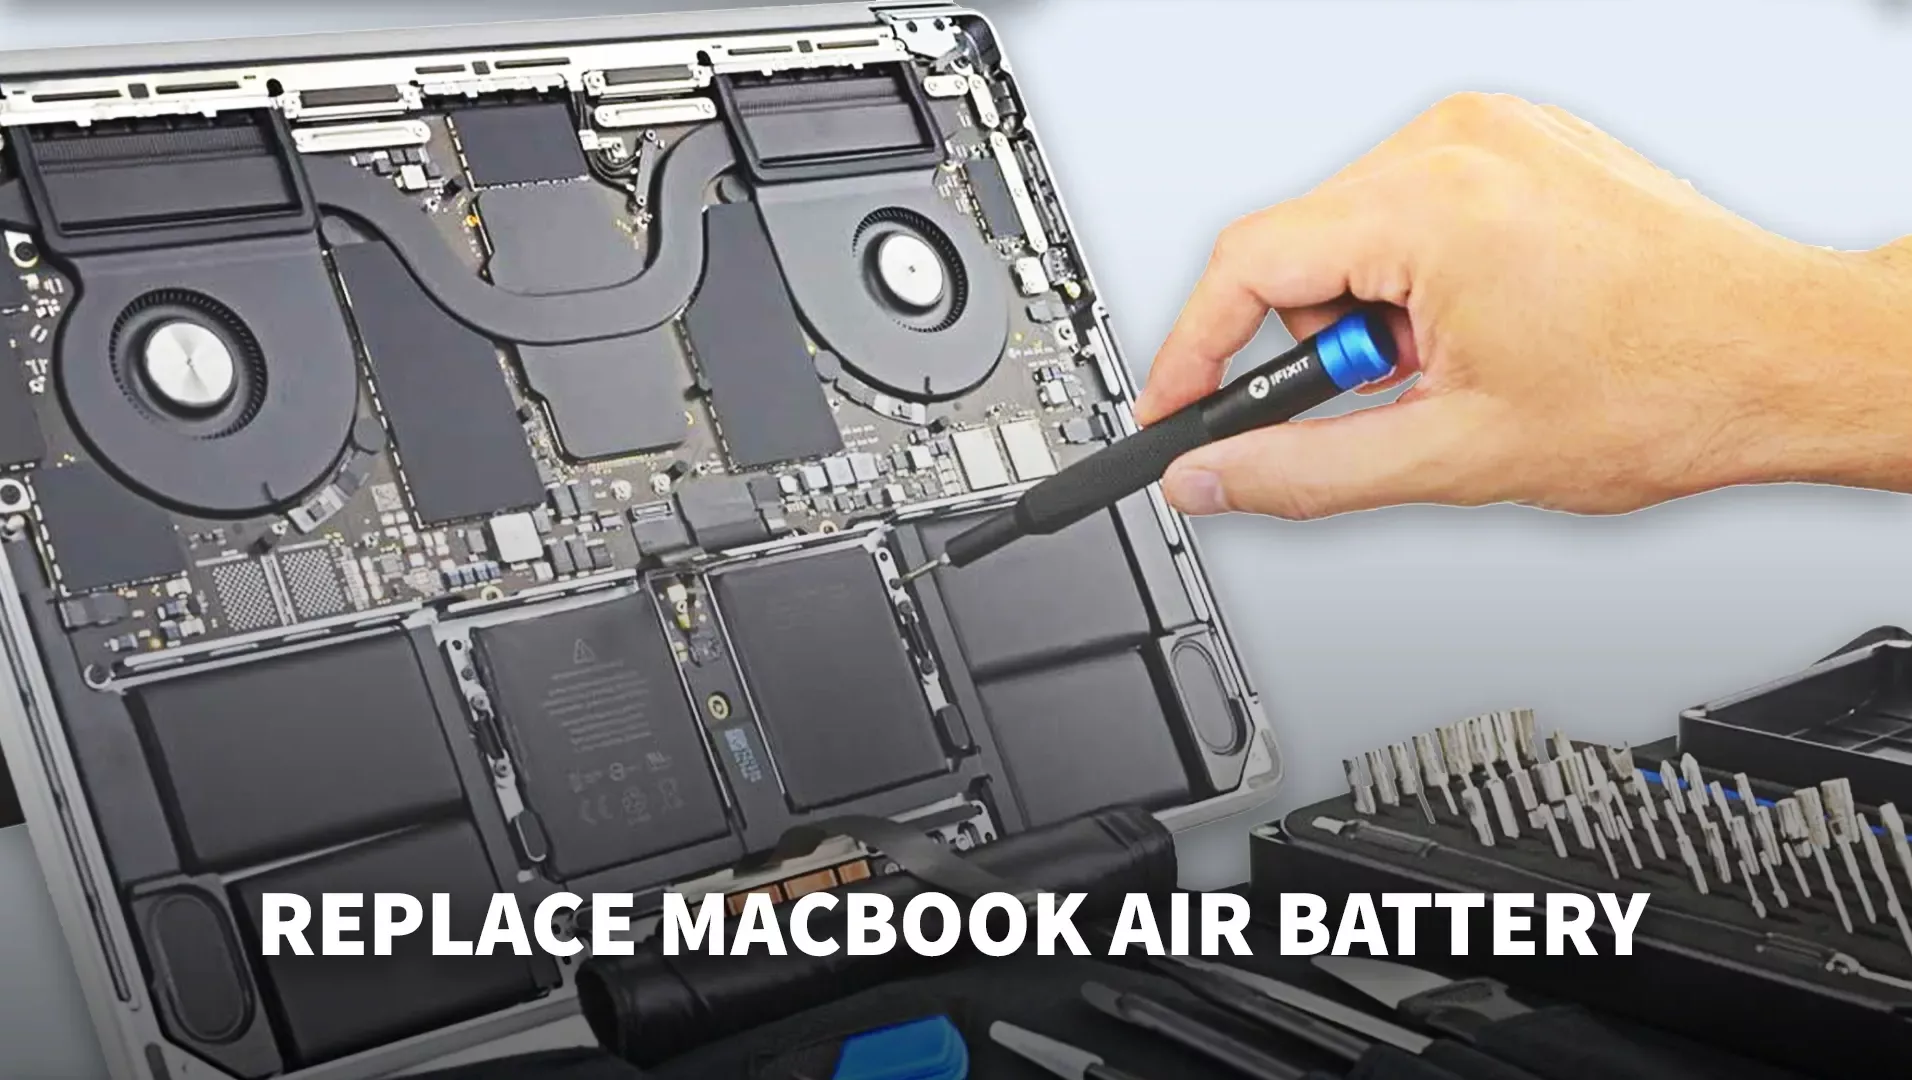
How to Replace MacBook Air Battery
Replacing the battery in your MacBook Air might sound like a complicated task, but it can be accomplished by following these simple steps:
Step 1: Gather the Necessary Tools and Materials
Before you start the battery replacement process, it’s essential to have the right tools and materials. Here’s a list of items you’ll need:
- Replacement battery compatible with your MacBook Air model.
- Screwdriver set (including a Pentalobe screwdriver).
- Spudger tool or a plastic card.
- Clean, lint-free cloth.
- Anti-static wristband (optional but recommended).
Step 2: Prepare Your Workspace
Creating an organized workspace will make the battery replacement process smoother. Follow these steps to prepare your workspace:
- Find a clean, well-lit area with ample space.
- Place a soft cloth or towel on the surface to protect your MacBook Air.
- Ensure there are no distractions or hazards nearby.
Step 3: Power Off Your MacBook Air and Disconnect Cables
To ensure your safety and prevent any damage to your MacBook Air, it’s crucial to power it off and disconnect all cables before proceeding. Follow these steps:
- Save any ongoing work and shut down your MacBook Air.
- Disconnect the MagSafe power adapter.
- Remove any other connected cables or peripherals.
Step 4: Remove the Back Cover
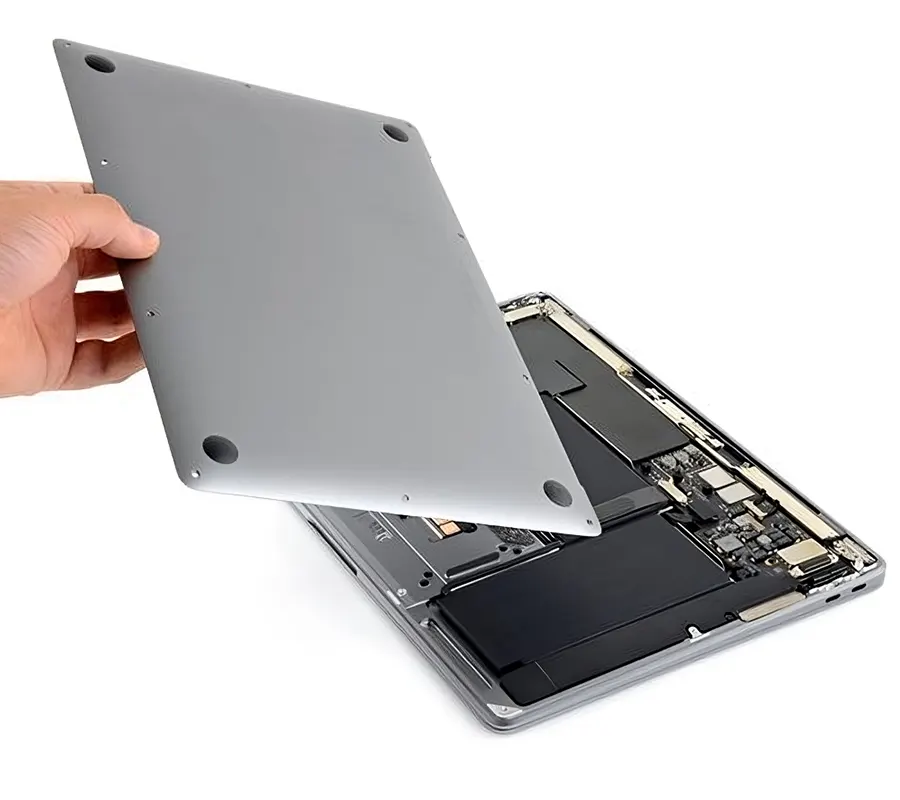
Now that your MacBook Air is powered off and disconnected, it’s time to remove the back cover. Follow these steps:
- Turn your MacBook Air upside down.
- Locate the ten screws securing the back cover.
- Use a Pentalobe screwdriver to remove all the screws.
- Keep the screws in a safe place to avoid misplacement.
Step 5: Disconnect the Battery Connector
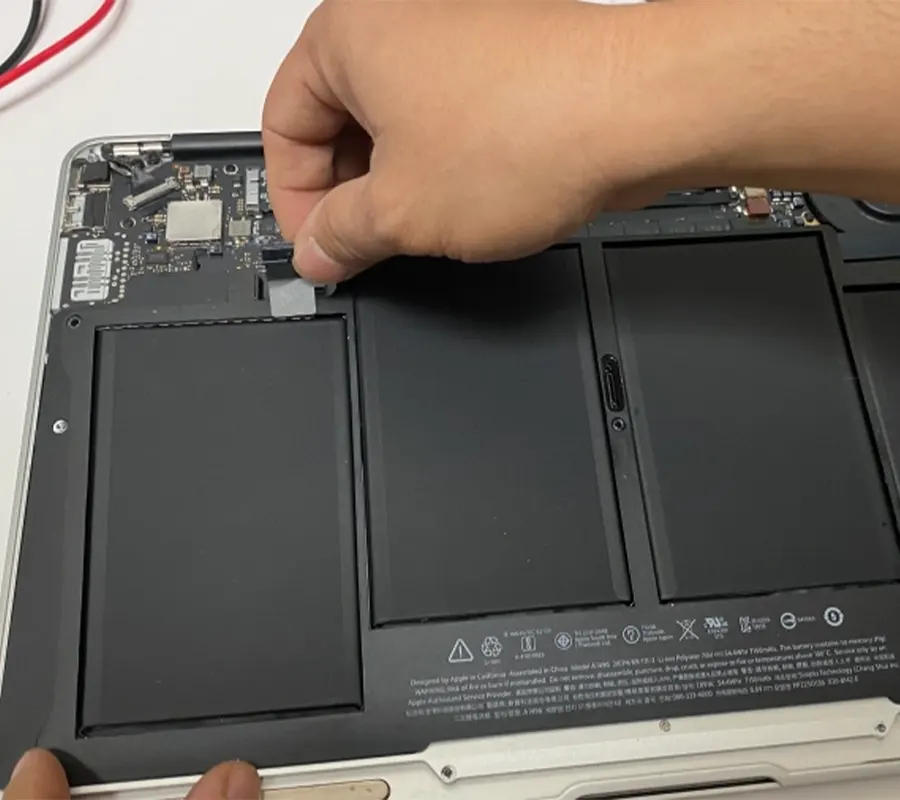
Before you can remove the old battery, you need to disconnect the battery connector. Follow these steps:
- Locate the battery connector on the logic board.
- Use a spudger tool or a plastic card to carefully disconnect the connector.
- Gently lift the connector to detach it from the logic board.
Step 6: Remove the Old Battery
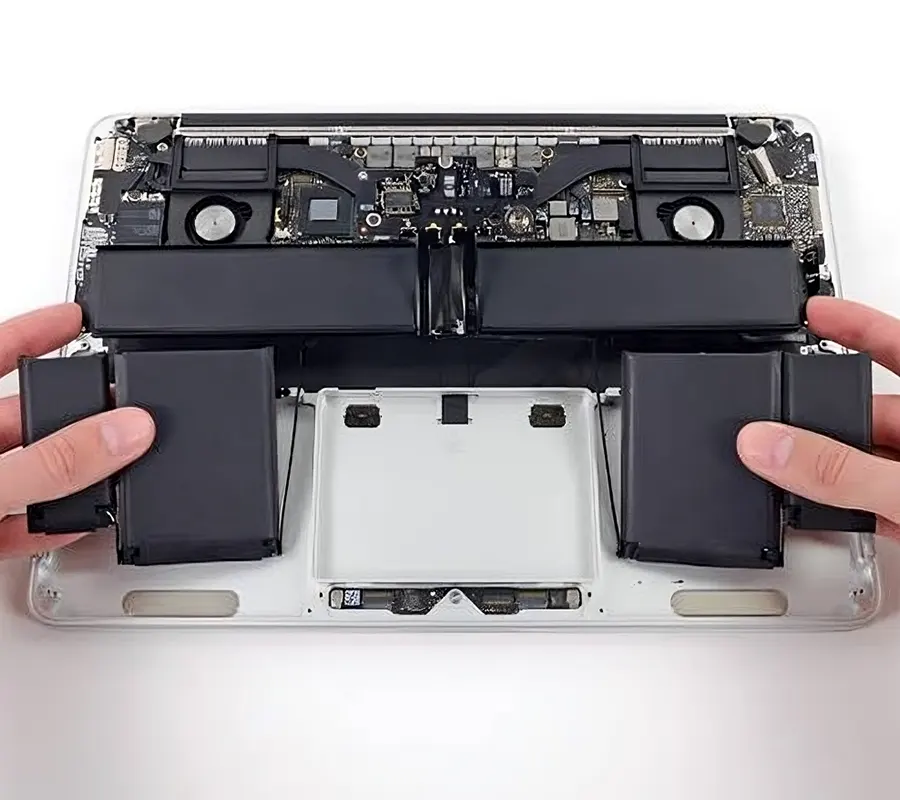
With the battery connector disconnected, you can now safely remove the old battery from your MacBook Air. Follow these steps:
- Locate the adhesive strips securing the battery in place.
- Slowly and carefully pull the adhesive tabs to release the battery.
- If the adhesive tabs break, use a spudger tool to gently pry the battery away from the casing.
- Once the battery is free, remove it from your MacBook Air.
Step 7: Install the New Battery
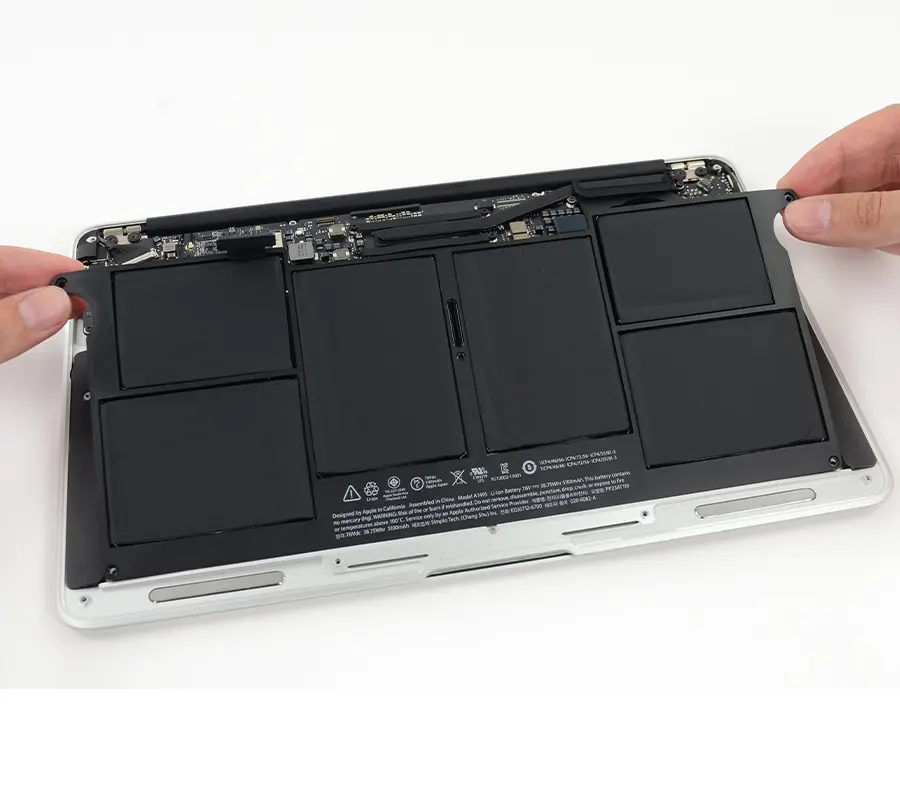
Now that you’ve removed the old battery, it’s time to install the new one. Follow these steps:
- Take the new battery compatible with your MacBook Air model.
- Align it correctly with the battery slot in your MacBook Air.
- Gently press the battery down to ensure it’s securely in place.
Step 8: Reconnect the Battery Connector and Replace the Back Cover
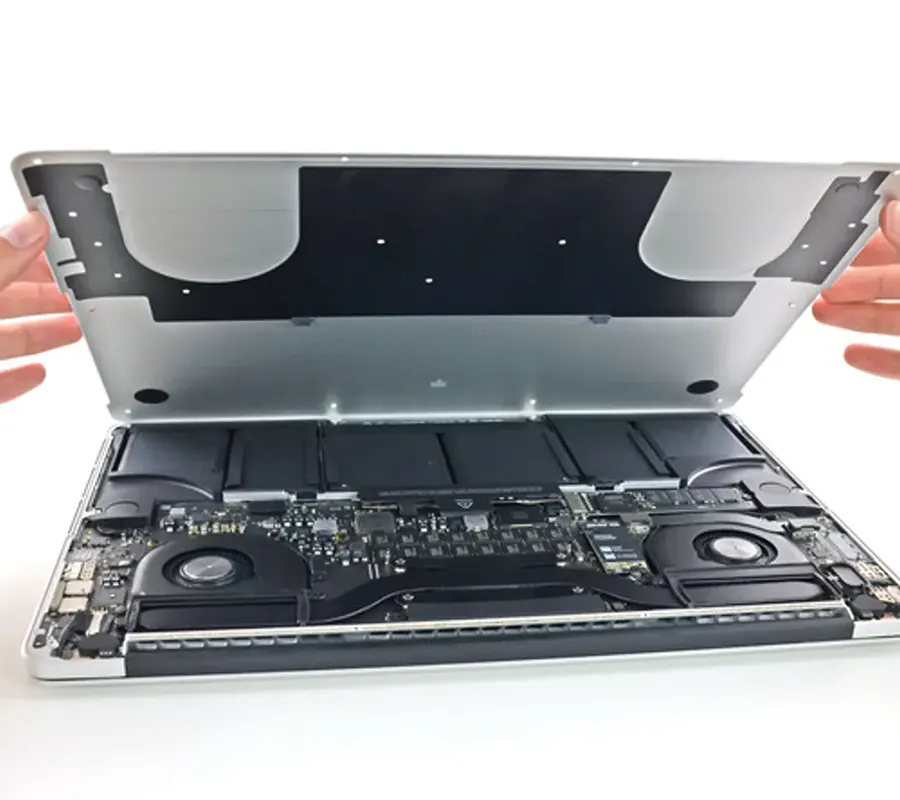
With the new battery installed, it’s time to reconnect the battery connector and replace the back cover. Follow these steps:
- Locate the battery connector on the logic board.
- Carefully align the connector and gently press it back into place.
- Once the connector is securely connected, replace the back cover.
- Align the screw holes on the cover with the holes on the MacBook Air.
- Use a Pentalobe screwdriver to insert and tighten the screws.
Step 9: Power On and Test
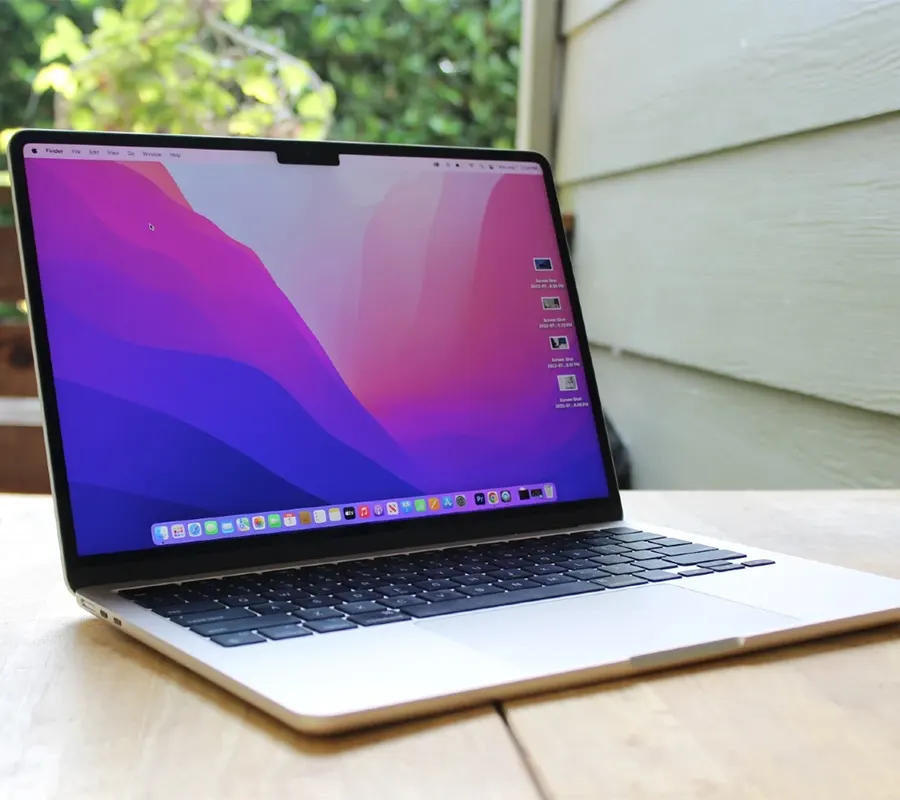
With the battery replaced and the back cover secured, it’s time to power on your MacBook Air and test the new battery. Follow these steps:
- Connect the MagSafe power adapter.
- Press the power button to turn on your MacBook Air.
- Allow your MacBook Air to boot up and check if the battery is functioning properly.
- Monitor the battery life and make sure it charges and discharges correctly.
Conclusion
Replacing the battery in your MacBook Air is a practical solution to restore its battery life and overall performance. By following the step-by-step guide provided in this article, you can confidently replace the battery yourself.
Remember to gather the necessary tools, create an organized workspace, and follow each step carefully. If you encounter any difficulties or are uncomfortable with the process, it’s always recommended to seek professional assistance such as of ERIP which provides best and most affordable repair services in Bangalore.
Enjoy the enhanced battery life of your MacBook Air!
FAQs
The lifespan of a MacBook Air battery can vary depending on usage and other factors. However, it’s generally recommended to replace the battery after around 1000 charge cycles or if you notice a significant decrease in battery life.
Yes, you can replace the battery in your MacBook Air yourself by following the step-by-step instructions provided in this guide. However, if you’re unsure or uncomfortable performing the replacement, it’s advisable to seek professional assistance.
Replacement batteries for MacBook Air can be purchased from authorized Apple resellers, Apple’s official website, or reputable third-party retailers. Ensure that the replacement battery is compatible with your MacBook Air model.
Yes, MacBook Air batteries can and should be recycled. Apple provides a recycling program for batteries and other electronic devices. You can find more information on Apple’s website or inquire at an Apple Store.
Yes, there are several ways to extend the battery life of your MacBook Air. These include adjusting the display brightness, reducing keyboard backlighting, closing unnecessary applications, disabling unnecessary features, and keeping your MacBook Air updated with the latest software.
- Tags: smatwatch
Related News


iPad mini 5 front glass replacement in India

iPad 7 th generation front glass replacement in India
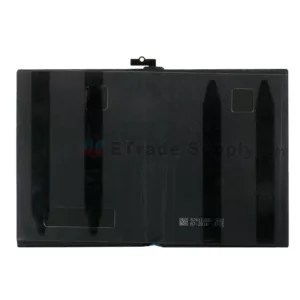
iPad 7th Generation Screen Replacement in India
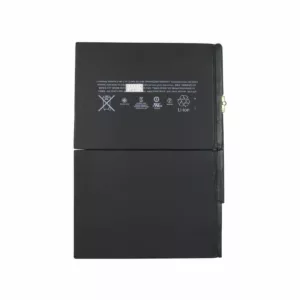
iPad 8 th generation Battery replacement in India

iPad 6th Generation Screen Replacement in India
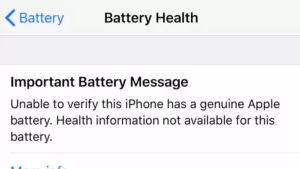
iPhone 14 Back Glass Replacement in India

iPhone’s Genuine Apple Display Warning Message

Apple Non-Genuine Battery Warning Messages
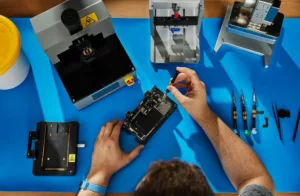
How to know when it is time to replace your iPhone battery?
MacBook Air M1 Display Price in India
iPhone 12 pro back glass replacement in Bangalore, India
Never miss any important news. Subscribe to our newsletter.
Recent News

iPad mini 5 screen replacement in India

iPad mini 5 front glass replacement in India

iPad 7 th generation front glass replacement in India
iPad 7th Generation Screen Replacement in India
iPad 8 th generation Battery replacement in India
