Ways for MacBook Hard Drive Upgrade
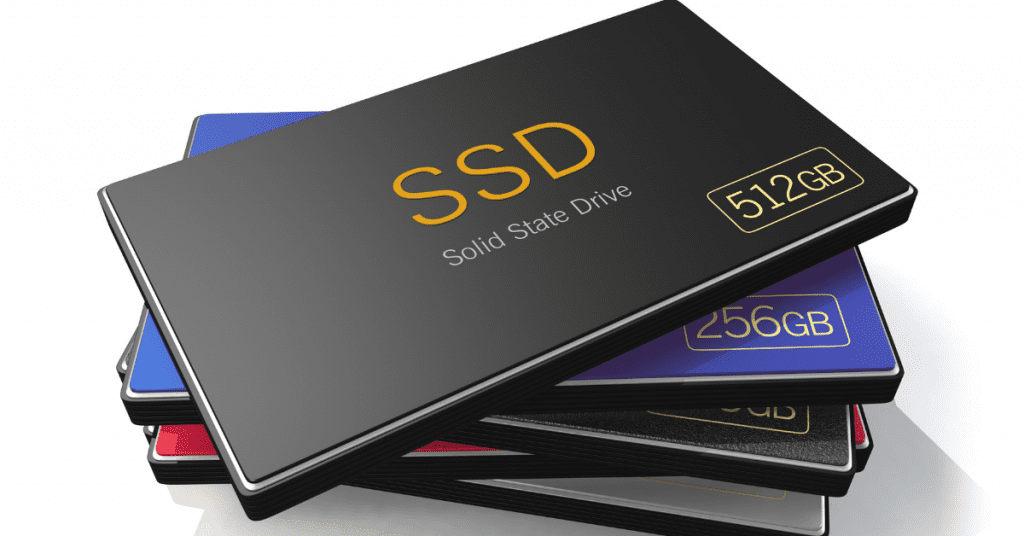
An SSD upgrade is a perfect update for you if your Mac runs out of storage and you need extra internal space. If your Mac still uses a hard drive rather than an SSD, you can boost its overall performance as well as its storage capacity almost instantly. Even though many Mac hard drives (HDDs) can be changed, some Macs are trickier to disassemble than others. You should carefully assess whether you should upgrade and replace the hard disc in your Mac because doing so can be pricey.
How to upgrade the hard drive on a MacBook Pro
There are a few procedures you must do in order to upgrade your MacBook Pro to an SSD. Due to the nature of the device, Macs made in 2017 or later might not be able to be upgraded in this manner; be sure your MacBook Pro supports hard drive replacement. Every MacBook Pro with a retina display comes with an SSD as standard.
Here’s how to upgrade the hard drive on your MacBook Pro to an SSD:
1. Duplicate your current hard drive

Clone your current hard drive before upgrading to prevent losing any important data. You may simply accomplish this by using the Disk Utility tool and following the instructions for the Restore function, or you can clone your hard drive using a backup programme like Time Machine.
Subscribe to Erip
Get the latest technology news, reviews, and opinions on tech products right into your inbox
2. Remove the hard drive from your MacBook Pro
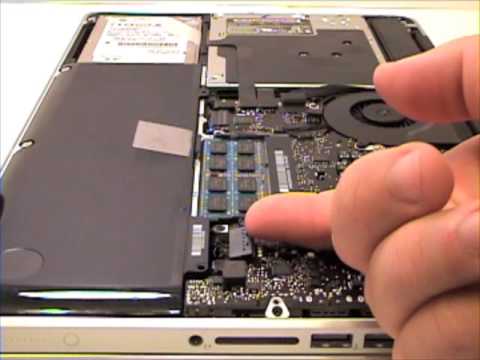
After backing up your data, you can replace the hard disc in your MacBook Pro. Follow these instructions carefully or hire a pro if you don’t want to risk invalidating your warranty by installing a third-party SSD into your Mac.
Also read: Macbook-Not-Booting: Causes and Fixes
A MacBook Pro’s hard drive can be removed as follows:
- Make sure your MacBook is off before flipping it over onto a solid surface.
- Using a Phillips #000 screwdriver, remove the screws holding the rear panel in place.
- Carefully raise the lower panel by inserting your fingers into the space between the vent and the case.
- The battery connector should be disconnected from the logic board. This connector is typically found at the edge of the logic board and is black. It might come off using a tab or a spudger.
- Once you’ve found the hard disc, remove the screws holding it in place. Given that it is huge, rectangular, and typically labelled with its storage and speed capacity, the hard disc should be simple to identify.
- The black bar keeping the hard disc in place should be removed. Some screws may also need to be taken out for this.
- Pulling on the plastic tab will allow you to remove the hard disc. You can now change the hard disc in your Mac after separating the black bar from the drive.
3. Give your MacBook Pro an SSD

You must first purchase an SSD before you can install it in your MacBook Pro. There are many various varieties available, so do your homework and pick the SSD that best satisfies your needs for speed, capacity, and price.
- You may attach your SSD to your MacBook by screwing through the sides of the drive. These screws are typically available from your old hard drive.
- The ribbon cable connector, often known as the black bar, should be connected to the SSD. Make sure the cable is not twisted, and make sure the connector is inserted securely.
- Insert one side of the SSD first, then the other, to secure it in place.
- Reinstalling the bracket and tightening it with Phillips screws will secure the SSD.
- Before changing the bottom cover, make sure the SSD is operational (recommended). Press the power button while the MacBook is turned on its side. The installation was successful if the customary start-up chime sounds. If you hear glass breaking, something may be amiss, and you should install your previous hard drive again to see if your device was harmed.
- Reinstall the bottom cover by screwing it in. Before using your MacBook, make sure all of the screws are securely fastened.
Get Avast Cleanup for Mac to keep your MacBook Pro operating smoothly even after the SSD upgrade. The duplicates, garbage files, and browser caches that clog up and slow down your Mac over time are all automatically collected by Avast Cleanup so that you can clear them all with a single click.
If you want to read informative blogs like this, visit our website, “ERIP Blogs“. Also, do visit our official handle, “ERIP“, where we provide home repair services for your home appliances and personal gadgets. You can easily schedule a repair by visiting our website “ERIP“, according to your convenience, and we will send an expert to your home to repair it.
- Tags: Apple Macbook, macbook, MacBook Hard Drive
Related News

Tips To Improve Battery Life
How to Choose the Right Phone Repair Shop
How to Recover Data from the Hard Drive of a Dead Laptop
How to Fix a Laptop That Is Not Charging
iPhone Water Damage: Repair It Your Self or Take It to a Pro?
iPad mini 5 screen replacement in India
iPad mini 5 front glass replacement in India

iPad 7 th generation front glass replacement in India
iPad 7th Generation Screen Cost Replacement in India
iPad 8 th generation Battery replacement in India
iPad 6th Generation Screen Replacement in India
Never miss any important news. Subscribe to our newsletter.
Recent News
Tips To Improve Battery Life
How to Choose the Right Phone Repair Shop
How to Recover Data from the Hard Drive of a Dead Laptop
How to Fix a Laptop That Is Not Charging


