You must activate an iPhone before using it for the first time to set up cellular service, regardless of whether it is a brand-new iPhone straight out of the box or a used phone you obtained from another user.
The setup wizard on the iPhone makes this process, for the most part, painless and straightforward.
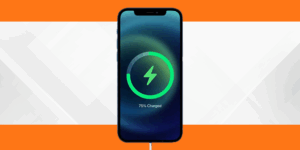
How to turn your iPhone on?
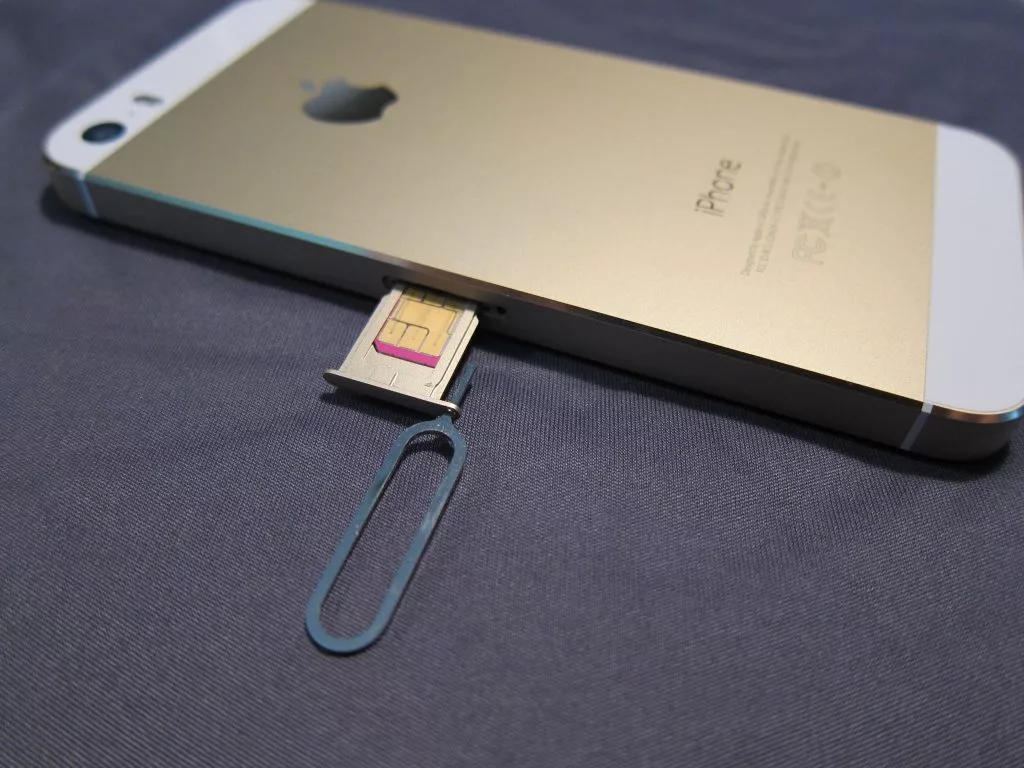
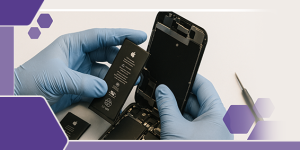
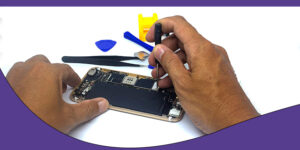
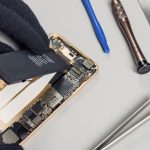
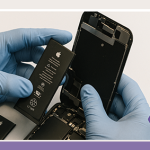
First things first. Unpack your new device to find everything you need, including your new phone, charger, Xfinity Mobile nanoSIM card, and any accessories you ordered, to start using the greatest network in the country. To activate your new phone, make sure it is off (and stays off). Installing the SIM card is the first step. The tiny chip that connects your phone to the cellular network is this.
The SIM card is likely already installed for you if you bought a new iPhone from an Apple Store or your wireless provider. You must manually insert the SIM card if not, or if you’re switching from an earlier phone.
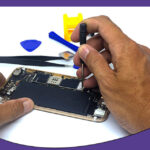
Make sure the phone is off before carefully inserting the SIM ejection pin—which your iPhone should have included, but a paperclip can do in a pinch—into the hole on the side of the device until a tray emerges.
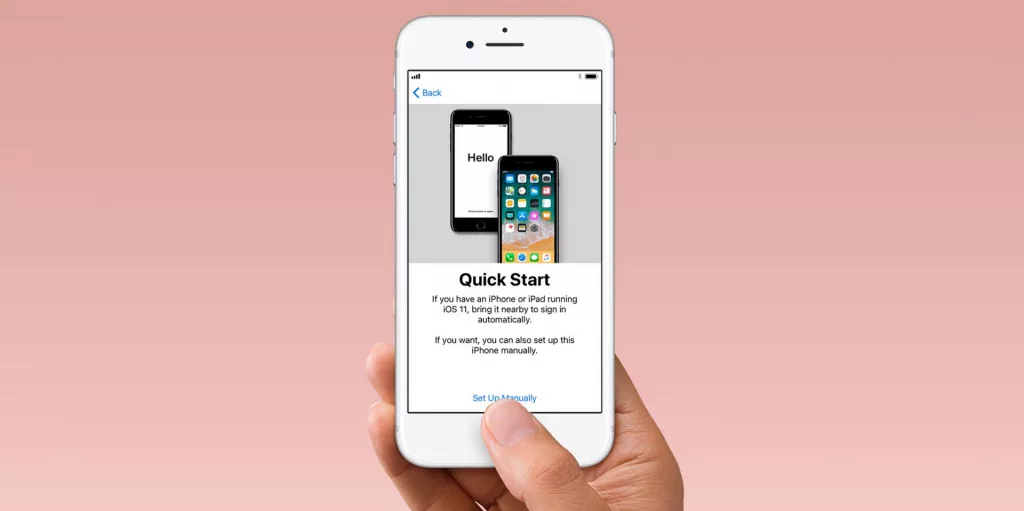
1. Use Quick Start or manually configure
If you already own a device, you can utilise it to immediately configure Quick Start on your new one.
Tap Set Up Manually if there isn’t another device available.
To configure Accessibility Options, click the blue accessibility button here.
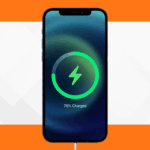
If you are within range of one, choose your Wi-Fi network. At this point, your iPhone should be able to properly connect to your cellular network if it has a SIM card. Only eSIM is supported by the new iPhone 14 series, and depending on your carrier, your phone may ask you to activate your eSIM. After that, continue activating your new iPhone by following the instructions.
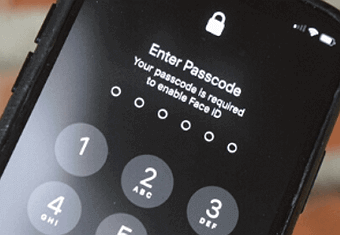
3. Create a passcode and enable Face ID or Touch ID
To set up Face ID or Touch ID so that you may unlock your device and make purchases using either your face or your fingerprint, simply follow the on-screen instructions.
Set a six-digit passcode after that to further safeguard your data. The use of technologies like Face ID, Touch ID, and Apple Pay requires a passcode. Tap Passcode Options to select whether you want a four-digit passcode, a personalised passcode, or none at all.
4. Transfer apps and data
You have the choice to use a backup, another phone, or forego it completely because your brand-new iPhone is a blank slate. The choices for transferring apps and data are as follows:
Restore from iCloud Backup: The majority of your data, apps, and media can be effortlessly transferred from an iCloud backup.
Restore from Mac or PC: Media for an iPhone is frequently backed up on computers.
Move directly from iPhone: By enabling this feature on your older phone and holding them close to one another, you can use your old iPhone to transfer data and apps to the new one.
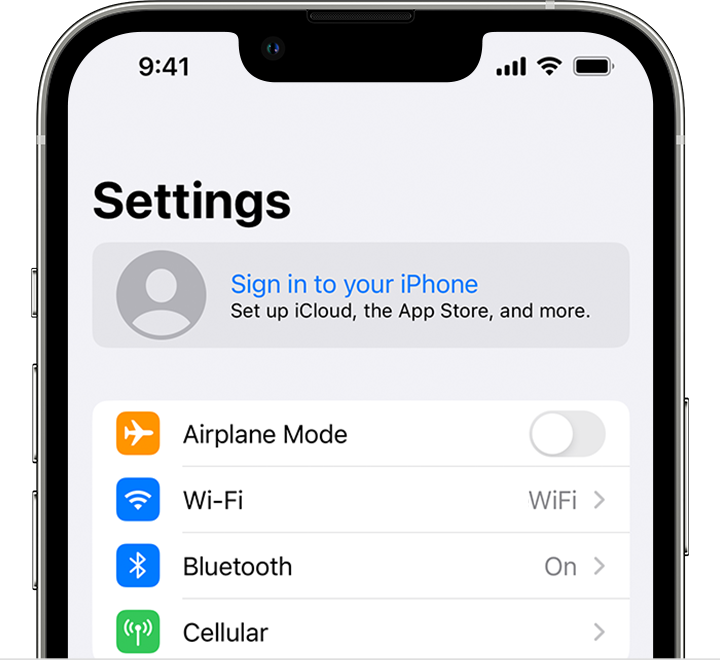
5. Utilize your Apple ID to log in
You can either press “Forgot password or don’t have an Apple ID?” or enter your Apple ID and password. From there, you may create an Apple ID, reset your password, or set it up later.
Select “Use different Apple IDs for iCloud and iTunes?” if you have more than one Apple ID. You might be asked for a verification number from your prior device when you sign in with your Apple ID.
6. Set up additional features and enable automatic upgrades
To enable automatic updates for iOS or iPadOS and to set up other services like iMessage, FaceTime, Location Services, and Analytics, simply follow the on-screen instructions.
If you want to read informative blogs like this, do visit our website “ERIP Blogs“. Also do visit our official handle “ERIP“, where we provide home repair services for your home appliances and personal gadgets. You can easily schedule a repair by visiting our website “ERIP“, according to your convenience, and we will send an expert to your home to repair it.